This DIY Mask Has Only 3 Ingredients and Works Like a Charm
If you’re looking for an effective skincare solution without the fuss, this DIY mask might be just what you need. With only three simple ingredients—honey, yogurt, and turmeric—it combines hydration, exfoliation, and anti-inflammatory benefits for an impressive formula. Not only is it easy to make, but it also addresses common skin concerns. Curious about how to prepare this mask and the best way to use it for maximum results? Let’s explore further.
The Benefits of a 3-Ingredient DIY Mask
When you whip up a 3-ingredient DIY mask, you’re not just simplifying your skincare routine; you’re also maximizing the benefits for your skin. Such a mask can target specific issues like hydration, brightness, or acne while ensuring you use fresh, natural ingredients. This approach saves time and eliminates the confusion of overly complex products, keeping your skincare effective and enjoyable. Additionally, using natural ingredients can provide nutrients that are often lacking in commercial products, further enhancing your skin’s health.
Ingredients You Will Need
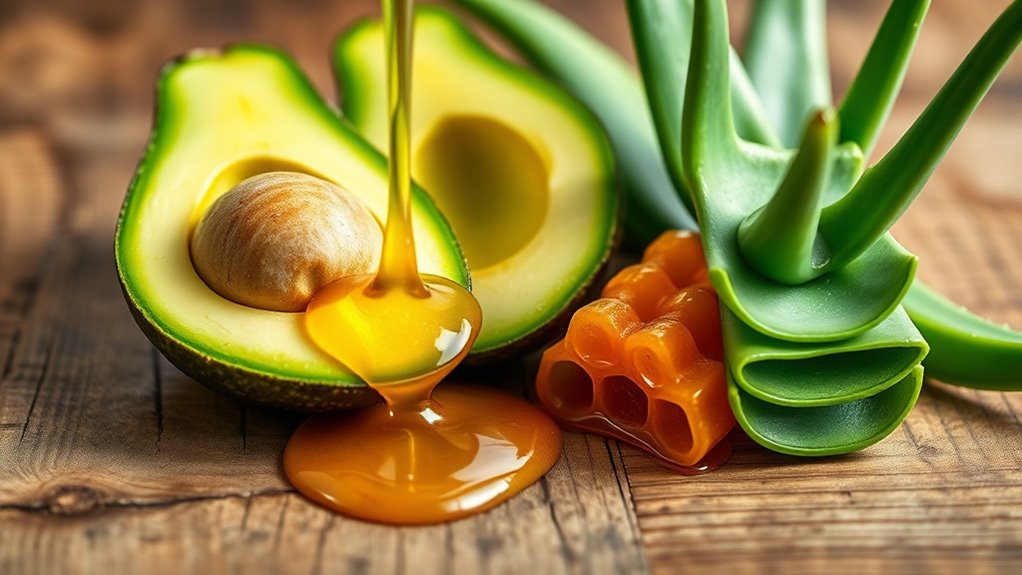
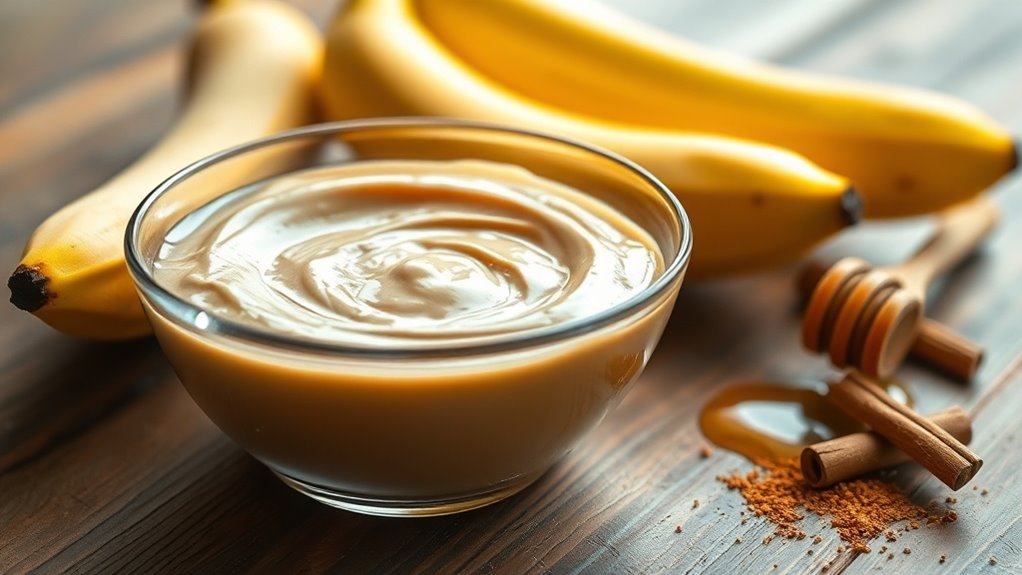
To create your effective 3-ingredient DIY mask, you’ll need to gather a few basic components that are both simple and easily accessible. Here’s what you’ll need:
- Honey: A natural humectant that hydrates the skin.
- Yogurt: Packed with lactic acid to exfoliate gently.
- Turmeric: Known for its anti-inflammatory properties.
- Optional: A drop of essential oil for added fragrance.
These ingredients will work wonders together! Additionally, using ingredients like honey and yogurt can provide natural skincare benefits that enhance your skin’s overall health.
Step-by-Step Instructions
Creating your DIY mask is a breeze with these simple steps!
First, gather your three ingredients.
Next, mix them in a bowl until you achieve a smooth consistency.
Apply the mixture evenly to your clean face, avoiding the eye area.
Let it sit for about 15-20 minutes, then rinse off with warm water.
Pat your face dry and enjoy your refreshed skin! Additionally, consider applying a cold compress after rinsing to further soothe any lingering redness.
Tips for Application and Best Results
Here are some tips to enhance your application:
- Apply the mask evenly with a brush or your fingers
- Avoid sensitive areas like eyes and mouth
- Let it sit for the recommended time
- Rinse with lukewarm water for a refreshing finish
Additionally, don’t forget that maintaining a clean application area is essential for avoiding common skincare mistakes that can hinder your glowing results.
Enjoy the glow!
Recommended Skin Types
When considering the ideal skin types for your DIY mask, it’s essential to recognize that different formulations cater to unique needs. This mask works well for oily, combination, normal, and dry skin types, providing nourishment and hydration across the board. Additionally, it’s vital to incorporate effective hydration techniques to maximize the benefits of your mask.
| Skin Type | Benefits |
|---|---|
| Oily | Reduces excess shine |
| Combination | Balances oil and moisture |
| Normal | Maintains skin health |
| Dry | Deep moisturization |
Personal Testimonials and Results
Many users have shared their experiences with this DIY mask, highlighting its versatility across different skin types.
You’ll find people raving about results such as:
- Glowing, radiant skin after just one use
- Reduced breakouts and smoother texture
- Hydration that lasts all day
- An easy, budget-friendly skincare solution
These testimonials underscore the effectiveness of this simple three-ingredient mask, making it a must-try!