DIY Vitamin C Serum Recipe That’s Cheaper and More Effective!
If you’re looking to enhance your skincare routine without breaking the bank, crafting your own Vitamin C serum might be the solution. This DIY approach not only saves you money but also empowers you to choose quality ingredients tailored to your skin’s needs. By understanding the benefits and essential components, you can create a powerful serum that rivals commercial options. Curious about how to get started? Let’s explore the essential ingredients and steps involved.
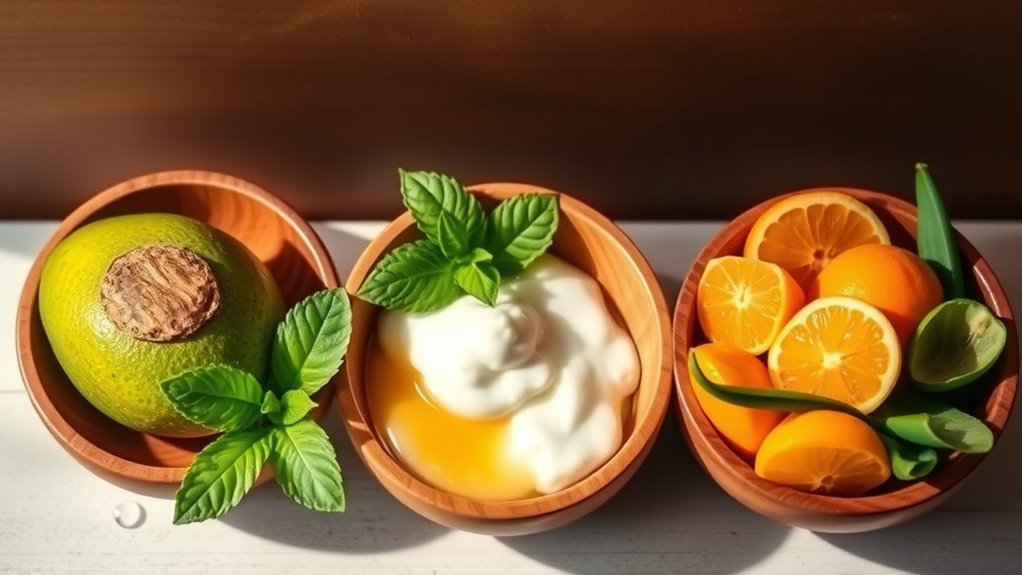
Benefits of Vitamin C for Your Skin
When you incorporate vitamin C into your skincare routine, you’ll quickly notice its powerful benefits for your skin. This potent antioxidant brightens your complexion, giving you that radiant glow we all crave. It helps reduce dark spots and evens out skin tone, making your skin look fresh and youthful.
Plus, vitamin C boosts collagen production, which means firmer, plumper skin over time. Research has shown that vitamin C is particularly effective in treating hyperpigmentation by inhibiting melanin production, leading to a more even skin tone.
Using a homemade vitamin C serum can be a game-changer for your daily regimen. It allows you to create a fresh, effective product tailored to your skin’s needs—all while saving money! You’ll feel empowered knowing you’re taking active steps toward healthier skin.
Ultimately, embracing vitamin C not only elevates your skincare routine but also fosters a sense of connection to a community that values self-care and natural remedies.
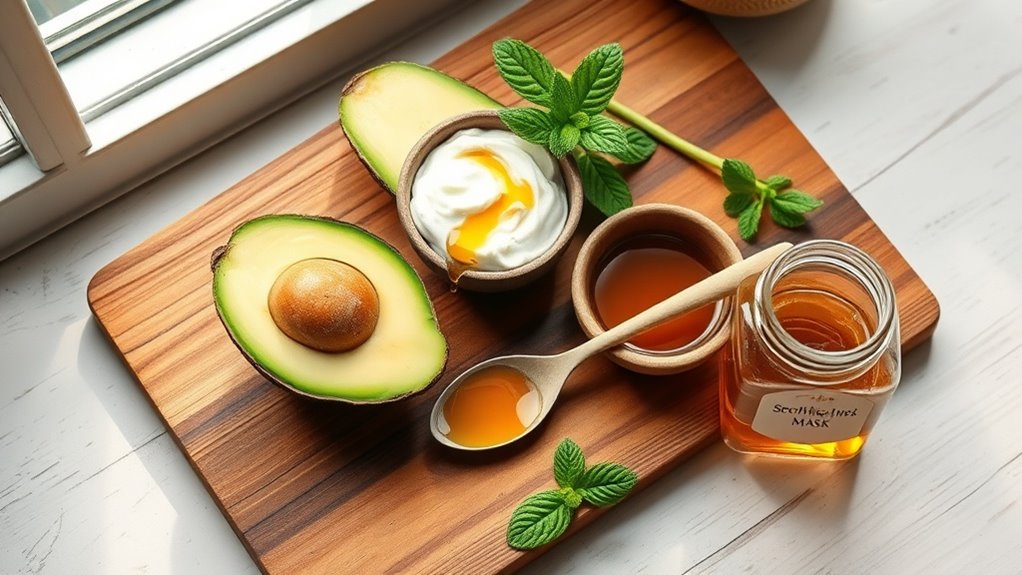
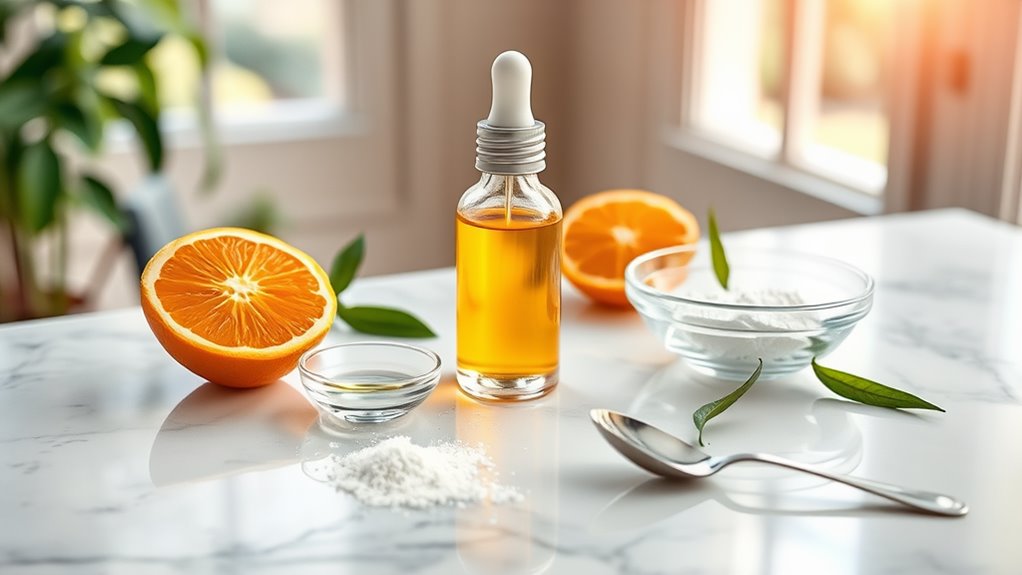
Essential Ingredients for Your DIY Serum
To create an effective DIY vitamin C serum, you’ll need a few essential ingredients that work together to deliver optimal results for your skin.
First, grab high-quality L-ascorbic acid, the pure form of vitamin C, which brightens your complexion and fights free radicals.
Next, you’ll want distilled water to help dissolve the vitamin and ensure a smooth application.
Glycerin is another must-have; it acts as a humectant, drawing moisture into your skin for that dewy glow we all crave.
Adding a carrier oil, like jojoba or rosehip, will enhance absorption and nourish your skin.
Finally, consider including a few drops of vitamin E oil for added antioxidant benefits and stability.
When combined properly, these ingredients can create a serum that rivals commercial products in both effectiveness and affordability.
With these ingredients, you’re on your way to crafting a serum that not only fits your budget but also helps you feel great in your skin!
Embrace this journey to healthier skin; you’re not alone!
Step-by-Step Instructions to Make Your Serum
Making your own vitamin C serum is a straightforward process that can be done in just a few easy steps. Start by gathering your ingredients: ascorbic acid, distilled water, and a carrier oil like jojoba or rosehip.
Here’s a simple guide:
| Step | Action |
|---|---|
| 1. Measure | Use 1 teaspoon of ascorbic acid. |
| 2. Mix | Combine it with 1 tablespoon of distilled water. |
| 3. Add Carrier Oil | Mix in 1 teaspoon of your chosen carrier oil. |
| 4. Stir | Blend thoroughly until it’s smooth. |
| 5. Transfer | Pour your serum into a dark glass bottle. |
Once you’ve completed these steps, you’ll have a fresh, effective serum ready to brighten your skin. Enjoy creating your personalized skincare routine and take pride in using a product tailored just for you!
Storage Tips to Maximize Freshness
Storing your homemade vitamin C serum properly is essential to maintain its potency and freshness.
First, choose a dark glass bottle, preferably amber or cobalt, to protect your serum from light exposure that can degrade its effectiveness. Keep your serum in a cool, dry place, away from direct sunlight and heat sources. Use a small, clean dropper to dispense the serum, minimizing contamination and oxidation.
It’s best to make smaller batches that you can use within a few weeks, ensuring you always have fresh serum on hand. If you notice any changes in color or smell, it’s time to toss it out. Additionally, be aware that certain harmful ingredients in skincare can react negatively with vitamin C, so always check your product labels before mixing.
You might also consider storing it in the refrigerator for added longevity. By following these simple storage tips, you’ll ensure your DIY serum remains as vibrant and effective as you intended, making you feel proud of your homemade skincare routine.
Comparing DIY Serum to Commercial Products
Homemade vitamin C serums offer a personal touch that many commercial products can’t match. When you create your own serum, you control the ingredients, ensuring they align with your skin’s unique needs. You get to pick fresh, high-quality components, avoiding preservatives or fillers often found in store-bought options.
Commercial products may promise quick results, but they often come with hefty price tags. With DIY, you can achieve similar, if not better, effects without breaking the bank. You also get the satisfaction of knowing exactly what’s in your skincare routine, fostering a sense of belonging to a community that values transparency and self-care. Additionally, many affordable kitchen ingredients can provide essential nutrients that enhance the effectiveness of your DIY serum.
Plus, making your own serum can be a fun bonding experience with friends or family, sharing tips and techniques.
Ultimately, choosing a DIY serum lets you feel empowered in your skincare journey, creating a product that’s truly yours.