How to Make Your Own Natural Moisturizer in 5 Minutes!
Making your own natural moisturizer can be quick and easy. With just a few ingredients, you can create a personalized blend that suits your skin’s needs. Whether you prefer the soothing properties of shea butter or the light feel of almond oil, the right combination can make a difference. Ready to discover how simple it is? Let’s walk through the process and explore what you’ll need to get started.
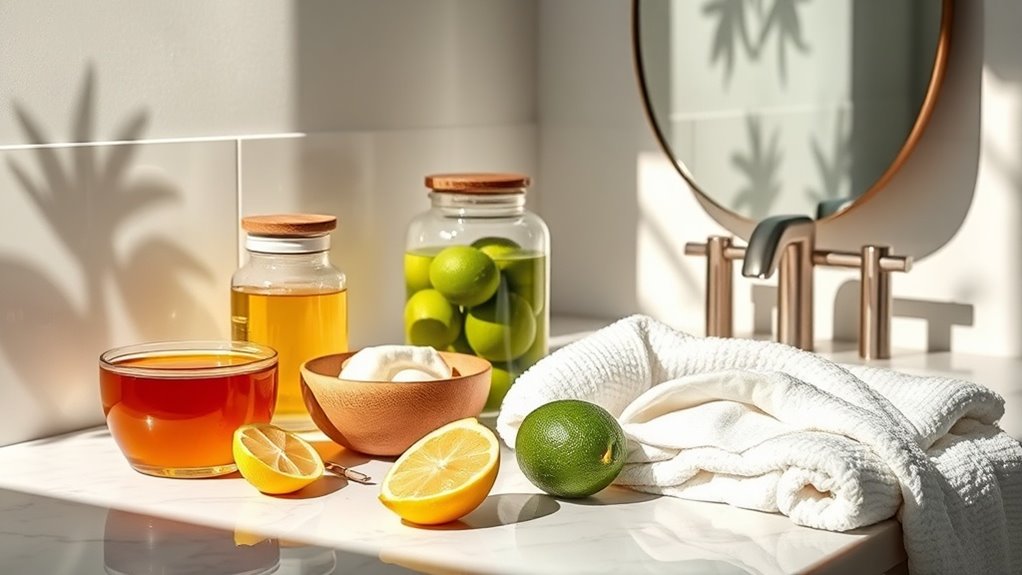
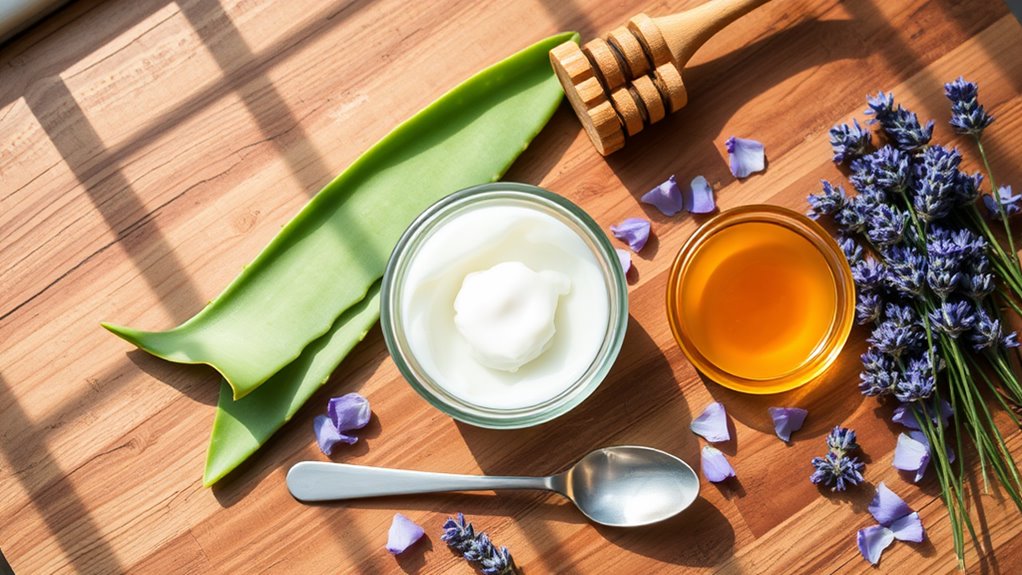
Gather Your Ingredients
Before you dive into making your own natural moisturizer, you’ll want to gather all the necessary ingredients. Having everything at hand not only makes the process smoother but also creates a sense of excitement as you prepare your diy moisturizer.
Start with the basics: choose a carrier oil like coconut or almond oil, which nourishes your skin beautifully. Next, pick a natural butter, such as shea or cocoa, to add richness and hydration. Don’t forget essential oils for that lovely scent and added benefits—lavender or tea tree are great choices. Additionally, using common pantry ingredients can help you create a moisturizer that is both effective and budget-friendly.
You’ll also need a few tools, like a mixing bowl and a whisk, to blend your ingredients seamlessly. Gather these items together, and you’ll feel ready to create something special.
It’s all about making a product that’s uniquely yours, and soon, you’ll be enjoying the satisfaction of using your very own moisturizer!
Step-by-Step Preparation
Now that you’ve gathered your ingredients, it’s time to start preparing your natural moisturizer. First, grab a small mixing bowl and combine your chosen oils. If you’re using coconut oil, make sure it’s softened but not fully melted.
Next, add your essential oils drop by drop, adjusting to your scent preference. Mix everything together using a whisk or spoon until it’s well blended.
Once combined, transfer your mixture into a clean jar or container. It’s best to use something with a lid to keep it fresh. If you want, label your jar with the date or ingredients; it adds a personal touch!
Finally, give it a quick stir before sealing. Using affordable kitchen ingredients in your skincare routine can provide natural benefits without breaking the bank.
In just a few minutes, you’ve crafted a moisturizer that feels as good as it looks. Now you’re ready to enjoy your homemade creation and share the joy with friends who appreciate natural beauty too!
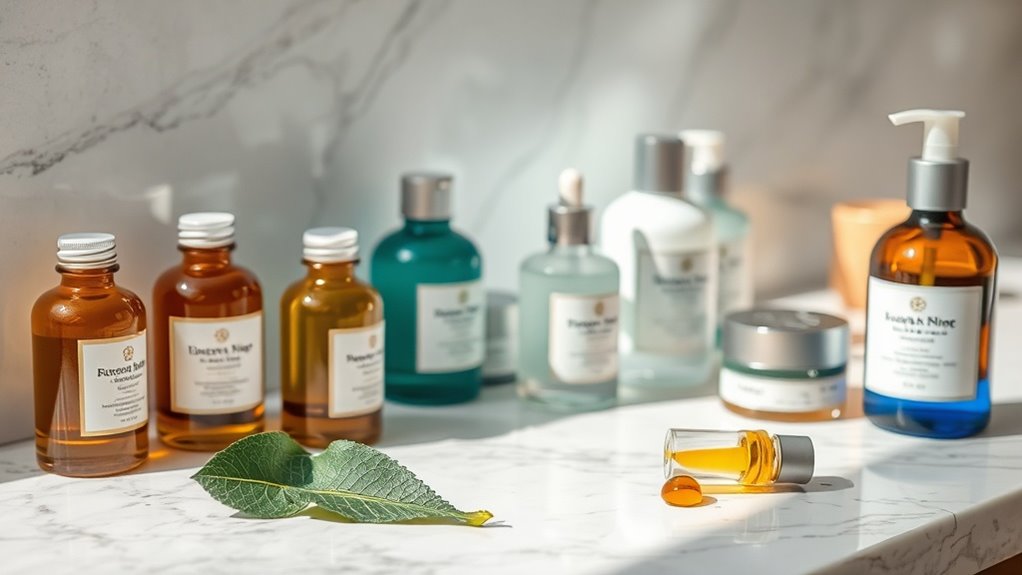
Benefits of Natural Moisturizers
While you might be accustomed to commercial moisturizers, natural alternatives offer numerous benefits that can enhance your skincare routine.
By choosing a natural moisturizer, you’re not just caring for your skin; you’re also embracing a healthier lifestyle that connects you with nature.
Here are some compelling reasons to make the switch:
-
Fewer Chemicals: Natural moisturizers often contain fewer synthetic ingredients, reducing the risk of skin irritation.
-
Eco-Friendly: Many natural products come from sustainable sources, helping you contribute to a healthier planet.
-
Nutrient-Rich: Ingredients like oils and butters are packed with vitamins and fatty acids that nourish your skin deeply.
-
Customized Experience: You can tailor your natural moisturizer to suit your preferences and skin needs, creating a unique product just for you.
-
Holistic Benefits: Using natural moisturizers can promote overall skin health by harnessing the power of natural skincare ingredients, which are often more compatible with our skin’s biology.
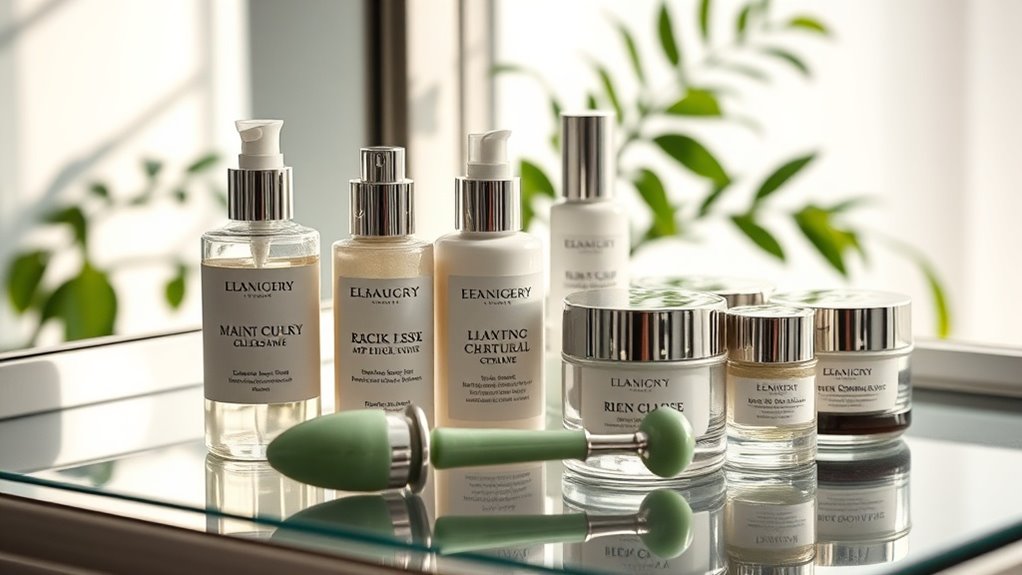
Ingredient Variations for Different Skin Types
Choosing the right ingredients for your natural moisturizer can greatly enhance its effectiveness, especially when considering your specific skin type. Tailoring your moisturizer not only helps your skin feel its best but also fosters a sense of community through shared experiences. Here are some ingredient variations you might consider:
| Skin Type | Recommended Ingredients | Benefits |
|---|---|---|
| Dry Skin | Coconut oil, Shea butter | Deep hydration, prevents flakiness |
| Oily Skin | Jojoba oil, Aloe vera | Balances oil production, soothes skin |
| Sensitive Skin | Almond oil, Chamomile extract | Calms irritation, nourishes gently |
It’s essential to remember that dehydrated skin can occur even in oily skin types, so proper hydration is key for everyone.
Storage Tips for Your Homemade Moisturizer
To ensure your homemade moisturizer maintains its freshness and efficacy, it’s crucial to store it properly. Here are some simple tips to keep your creation in top condition:
-
Use airtight containers****: Glass jars with tight seals are ideal, as they prevent air exposure and contamination.
-
Keep it cool: Store your moisturizer in a cool, dark place, away from direct sunlight to prolong its shelf life.
-
Label your creations: Write down the date you made it and the ingredients used; this helps you track freshness and avoid using expired products.
-
Consider refrigeration: If your moisturizer contains natural ingredients like oils or fruit extracts, refrigerating it can help extend its lifespan. Additionally, be mindful of toxic ingredients that may spoil faster, affecting the overall quality of your moisturizer.